How to use Pelles C development tool for Windows CE
Overview
Pelles C is a freely available integrated development environment (IDE) that includes an assembler, C compiler, linker, editor, debugger and many project management utilities.
It provides support for Microsoft Windows and Pocket PC. Click here for more details and terms of use.
This article demonstrates how Pelles C 7.00 can be used to develop applications for WinCE.
Windows Mobile Device Center / ActiveSync
Connect your Toradex Module with the development PC. If you use Windows XP or an earlier version you need to install ActiveSync. Windows 7/8 will automatically use Windows Mobile Device Center.
Pelles C Installation
- Go to Pelles C download section to download "Setup, 32-bit edition" (version 7.00) or click here for the direct link.
- Click on downloaded setup.exe and proceed by accepting the license agreement. A warning will be shown as:

Ignore this warning and click on Next.
- In Choose Components window, Select the type of install as Full and click on Next and Install.
- Download Toradex template project wizard from here. Extract it and place the extracted dll in Program Files > PellesC > Bin > Wizards on your development PC.
- Run Pelles C IDE from the Windows Start menu.
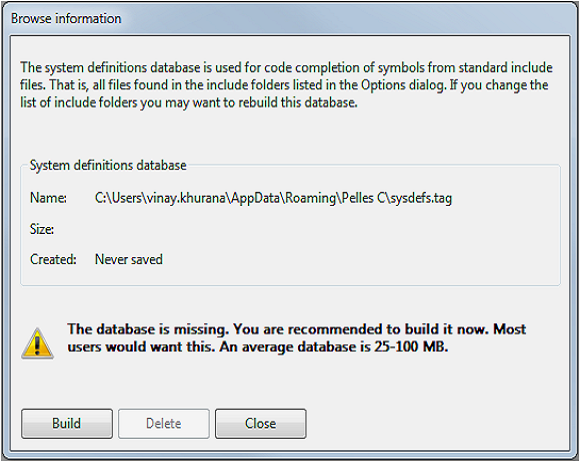
- A database missing warning will appear as shown below:

Click on Build to build the database. After the database is created, click on Close to go to main window.
Installation procedure is complete and IDE is ready to use.
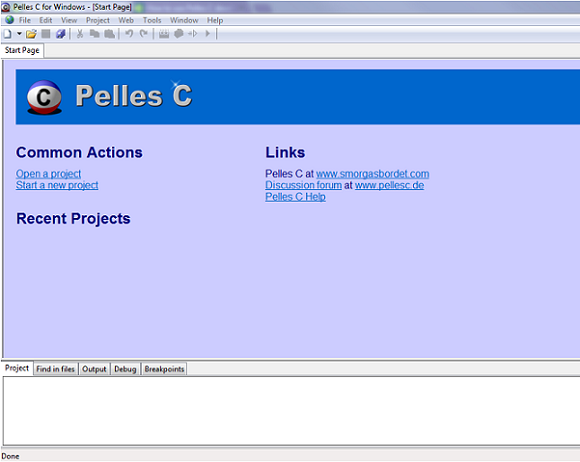
Following image shows the main window:

To create a new project, go to File > New > Project. A New project window will open as shown below:

Hello World Demo Application
- Select Toradex HelloWorld (EXE) template project in New project window, name the project vcpp_helloWorld_demo and click on OK.
- Win32 application wizard window will open. Select 'A "Hello, world" program' and click on Next and Finish.
- The source code will be automatically generated. Go to Project and click on Build helloWorld_demo.exe to build and Execute helloWorld_demo.exe to run the application.
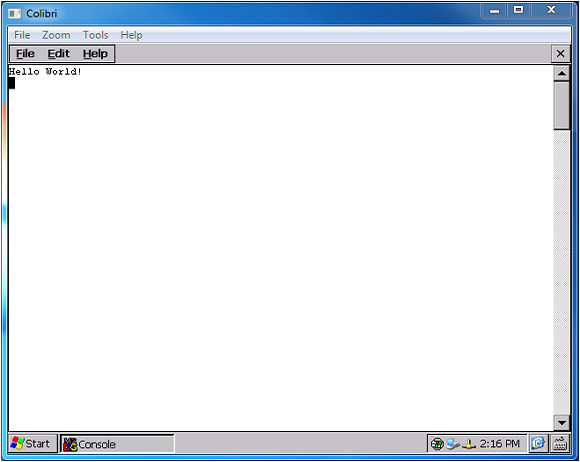
A console output window will open on the Toradex module as shown below:

Go to Tools > Capture Screen from Pocket PC File > New bitmap to get the target screen image remotely or you can use Remote Display tool also.
Use Toradex library in Pelles C
This demo shows the use of Toradex GPIO library to toggle the SODIMM pin number 133.
- Download the free GPIO library from here.
- Create a new project following the above steps and name it vcpp_gpioToggle_demo.
- Copy the header file GpioLib.h from inc folder in downloaded files and paste it to the vcpp_gpioToggle_demo > inc directory.
- Go to downloaded files and copy GpioLib.dll from libs > dll > ARMV4IDbg and paste it to the vcpp_gpioToggle_demo > lib directory.
- Copy the polib.exe file from Program Files > PellesC > Bin and paste into vcpp_gpioToggle_demo > lib folder.
- polib.exe converts dll file to lib file used by Pelles C compiler. Use following command in command prompt to generate lib file.
polib.exe /machine:arm GpioLib.dll -out:GpioLib.lib
For example:
d:\vcpp_gpioToggle_demo\lib>polib.exe /machine:arm GpioLib.dll -out:GpioLib.lib
This will generate a lib file with name GpioLib.lib under d:\vcpp_gpioToggle_demo > lib directory.
- Go to Project > Project options > Linker > Library and object files and add the generated lib file name as shown below:

- Go to Project > Project options > Folders and add the path of inc directory to Includes type as shown below:

- Similarly add the path of lib directory to Libraries type as shown below:

- Copy and paste the following code in main.c.
#include <windows.h>
#include "GpioLib.h"

int WINAPI WinMain(HINSTANCE hInstance,      ///< Handle to current instance.
                   HINSTANCE hPrevInstance,  ///< Handle to previous instance.
                   LPWSTR lpCmdLine,         ///< Pointer to command line.
                   int nCmdShow)             ///< Show state of window.
{
    DWORD loopCount = 0;
    printf("Welcome to Toradex.\n");
    InitGPIOLib();                     ///< Initializes GPIO library.
    printf("Executing demo application to show GPIO as Output...\n");
    SetPinAltFn(133, -1, DIR_OUT);    ///< Sets SODIMM Pin 133 as GPIO(-1) and set to Output.
    for (loopCount = 0; loopCount < 20; loopCount++)
    {
        SetPinLevel(133, FALSE);        ///< Sets the logic level of SODIMM pin 133 to LOW.
        Sleep(500);
        SetPinLevel(133, TRUE);         ///< Sets the logic level of SODIMM pin 133 to HIGH.
        Sleep(500);
    }
    DeInitGPIOLib();        ///< Releases resources used by GPIO library and de-initializes GPIO library.
    printf("Press enter to exit the program.\n");
    getchar();
    return 0;
}
- Copy GpioLib.dll from vcpp_gpioToggle_demo > lib and paste it to FlashDisk > System on your WinCE device.
- Go to Project and Build and Execute the application.
Download
You can download this demo project from here.