Set up the Torizon IDE Extension Environment
Introduction
This article provides a step-by-step guide on host machine setup for developing applications with Torizon OS devices using Visual Studio Code and the Torizon VS Code Extension. It includes instructions for installing software and dependencies on your Windows or Linux-based host machine.
This article complies with the Typographic Conventions for Toradex Documentation.
Prerequisites
- Understanding the basics of the Torizon IDE Extension.
- Host machine with an officially supported OS.
Configure a Windows Host Machine
Install Visual Studio Code
Install Visual Studio Code on the Windows side. The installer is available at Download Visual Studio Code.
Do not install VS Code on WSL.
Even with the Windows version of VS Code installed, you can access VS Code from the WSL terminal. Also, with the WSL Extension, VS Code's UI runs on Windows, and all your commands, extensions, and even the terminal, run on Linux.
Using the Installation Wizard
The Torizon IDE Installation Wizard automatically installs and configures the Torizon IDE Extension on Windows.
Check this video for a step-by-step tutorial on how to run the Installation Wizard.
It's also possible to manually install the dependencies and setup the configurations.
Manually Install Torizon IDE Extension
It is important to note that the Torizon IDE team does not support, does not test, installation without using the installation wizard for Windows. If you choose to install manually, you may encounter issues that are not known.
Manually Install the Dependencies
Install WSL 2
The Windows Subsystem for Linux (WSL) enables the use of most Linux command-line tools, utilities and applications directly on Windows. It also lets you leverage the IDE Extension with Visual Studio Code installed on your Windows machine. If you are unfamiliar with WSL and want to learn more, see Introduction to Windows Subsystem for Linux (WSL).
Choose one of the Torizon IDE officially supported Linux distributions.
Check which version of WSL you are running. If WSL 1 is installed, upgrade version from WSL 1 to WSL 2.
You will find more information in the following articles:
Install Docker Engine
There are two options for managing Docker containers: Docker Engine and Docker Desktop.
- Docker Engine is an open-source technology that provides the Docker daemon and CLI commands for containerizing applications.
- Docker Desktop provides, besides Docker Engine, a GUI and a set of proprietary tools.
Since Docker Desktop is licensed under the Docker Subscription Service Agreement, we recommend using Docker Engine, which is licensed under the Apache License, Version 2.0.
Open a WSL terminal: You can run the
wslcommand in a PowerShell terminal.Install Docker Engine in WSL: To ensure the correct installation of Docker Engine, follow the instructions for the specific Linux distribution you have installed with WSL.
Install the WSL Extension
To use WSL in Visual Studio Code, install the WSL extension:
The WSL extension lets you use VS Code on Windows to build Linux applications that run on the Windows Subsystem for Linux (WSL). You get all the productivity of Windows while developing with Linux-based tools, runtimes, and utilities.
Set up the Torizon IDE Extension on Visual Studio Code
Uninstall previous versions: If you have the deprecated Torizon IDE Extension installed, please uninstall it before proceeding with the next steps.
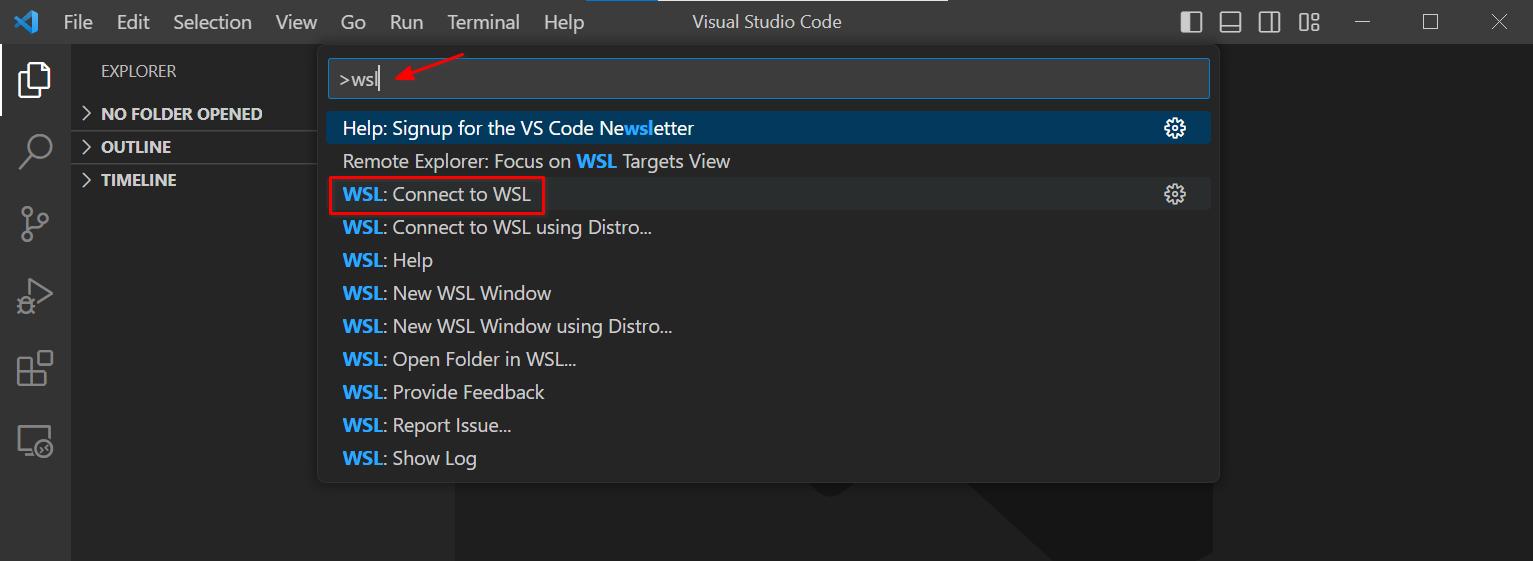
Connect to WSL: The extension must be installed in the Linux environment.
- Press
F1. - Search for
wsl. - Select
WSL: Connect to WSL.
- Press
Install & Configure the IDE Extension.
Click the
Extensionsicon from the left menu bar in Visual Studio Code.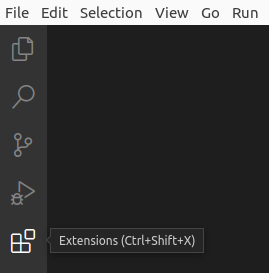
Search for
Torizon IDE Extension. Clickinstall.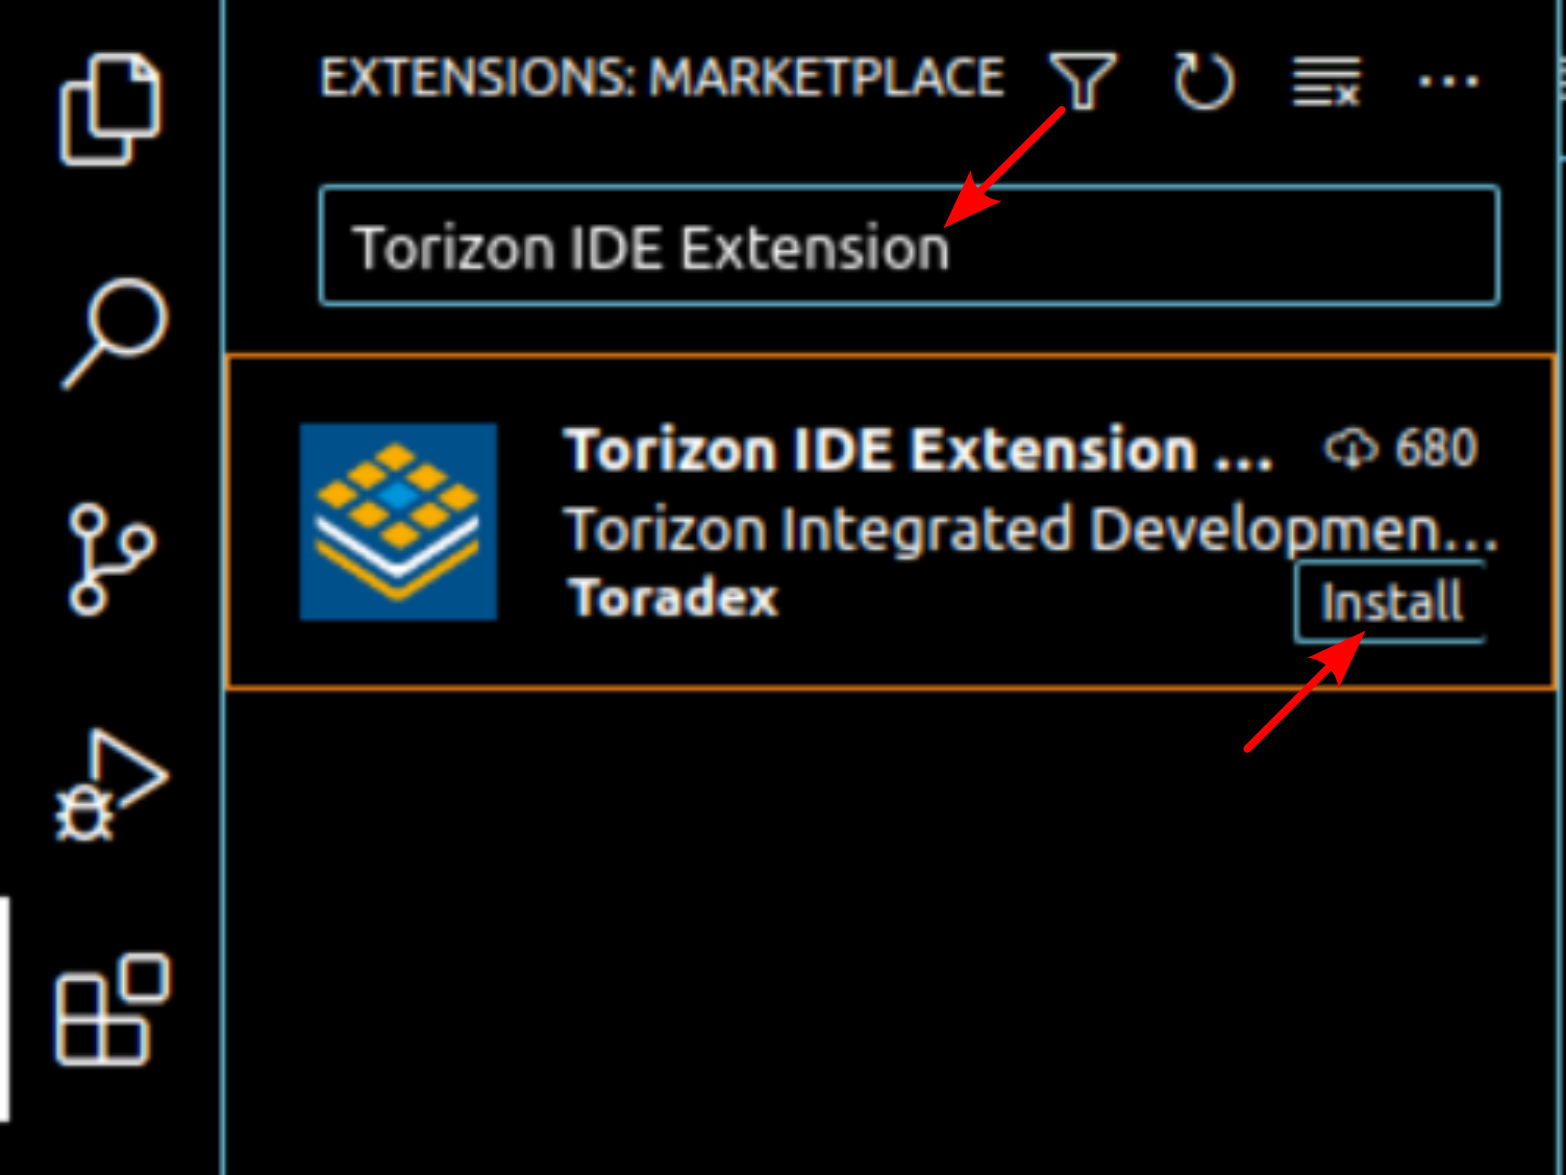
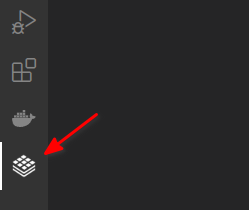
Activate the extension: The Torizon icon will appear in the left menu bar. Click on it to activate the extension.
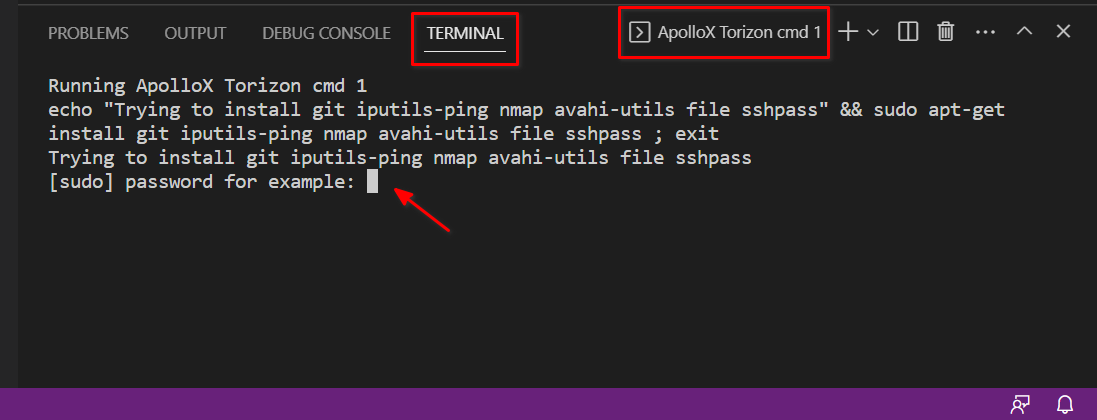
Installing dependencies: During the first activation, the extension will check the necessary dependencies. If any missing dependencies are detected, the extension will attempt to install them and prompt you to enter your
sudouser password.warningPay attention to this step, during the activation of the extension, some other extension can be running and move the focus on other element or hide the TERMINAL tab. Click on the TERMINAL tab to make sure there are no pending installation requests.
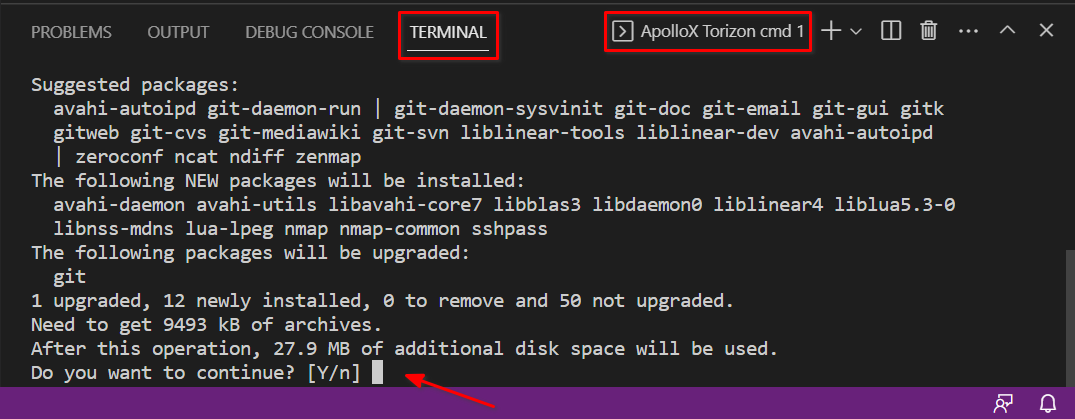
Accept the package installation.
Configure a Linux Host Machine
Install Visual Studio Code
Install Visual Studio Code from its Download page.
The IDE Extension will not work with VS Code installed via Snap or Flatpak.
Install Docker Engine
The Torizon IDE team does not support, does not test, the extension flow with Docker Desktop. If you choose to use Docker Desktop you may encounter issues that are not known.
There are two options for managing Docker containers: Docker Engine and Docker Desktop.
- Docker Engine is an open-source technology that provides the Docker daemon and CLI commands for containerizing applications.
- Docker Desktop provides, besides Docker Engine, a GUI and a set of proprietary tools.
Since Docker Desktop is licensed under the Docker Subscription Service Agreement, we recommend using Docker Engine, which is licensed under the Apache License, Version 2.0.
Install Docker Engine: The release of Docker provided by some distribution feeds is not up-to-date. To ensure the correct Docker installation, follow the instructions for your distribution in the Docker documentation.
Set up the Torizon IDE Extension on Visual Studio Code
Install & Configure the IDE Extension.
Click the
Extensionsicon from the left menu bar in Visual Studio Code.Search for
Torizon IDE Extension. Clickinstall.Activate the extension: The Torizon icon will appear in the left menu bar. Click on it to activate the extension.
Installing dependencies: During the first activation, the extension will check the necessary dependencies. If any missing dependencies are detected, the extension will attempt to install them and prompt you to enter your
sudouser password.warningPay attention to this step, during the activation of the extension, some other extension can be running and move the focus on other element or hide the TERMINAL tab. Click on the TERMINAL tab to make sure there are no pending installation requests.
Accept the package installation.
Blogs
This section brings interesting blogs and valuable insights to your attention.