VNC Server (WinCE)
Overview
Virtual Network Computing (VNC) is a desktop sharing system that can display the screen of one computer (Server) on the screen of another (Viewer). Based on Remote frame buffer (RFB) protocol it allows mouse and keyboard to control the server computer remotely.
Multiple viewers can communicate to the VNC server at the same time.
Steps to use the VNC server
- Download VNC server for WinCE 6 ant 7 devices from here or for Windows Embedded Compact 2013 devices here. For more information and license click here.
- Extract zip file and copy the extracted folder on WinCE device.
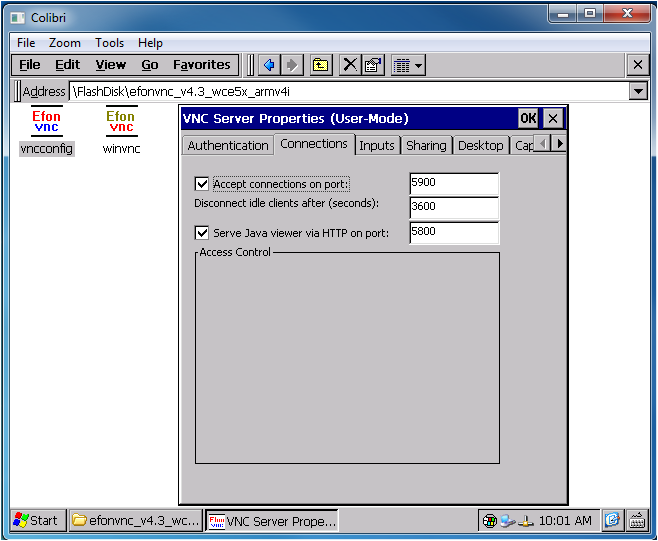
- Run vncconfig.exe to configure the server settings like password authentication, port number etc as shown below:
- Press OK and run winvc.exe to run the server.
A small icon in green-red colour will appear on the right side of the taskbar showing server is running.

- Download VNC viewer provided by RealVNC for PC/Laptop from here. For more information and license click here.
- Run VNC viewer application. Following window will appear:
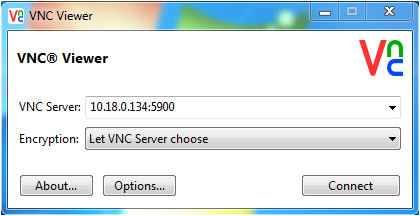
- Enter the IP address of VNC server along with the port number.
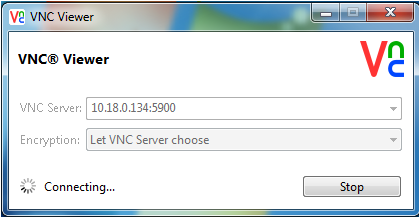
Press Connect to establish a connection with the VNC server as shown below:
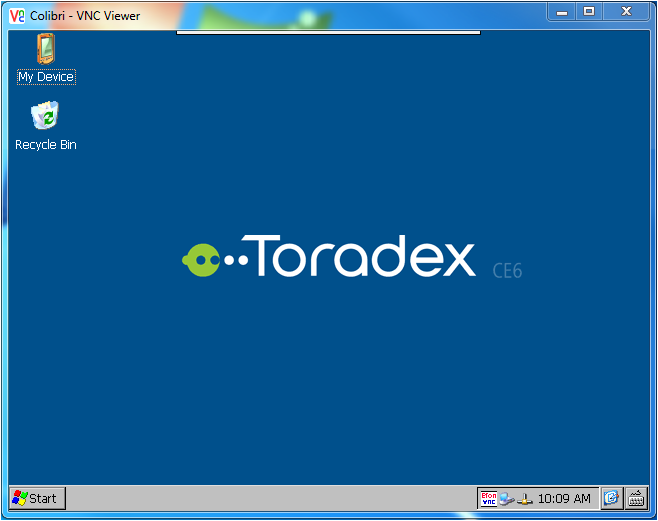
- After connecting with the server, WinCE device can be controlled from the VNC viewer. The colour of the VNC server icon on WinCE taskbar will change from green-red to red-blue if atleast one viewer is connected.
Following image shows the WinCE desktop in the VNC viewer.
Note: If WinCE device is connected through a router then make sure port-forwarding is done to the router to access the VNC server globally over the Internet.